Local Domain Names for UNRAID Docker Containers with Port Numbers (Pihole)

This is a follow up to the previous post I wrote back in 2022 called Create Local Domain Names With UNRAID and Pi-hole. In that guide, the example Docker container I was using had an internal mapping to port 80, so the set up was very simple. However, many people use Docker containers that assign a different web ui port so they can be used on the same IP address. The following is more in-depth, but will address this issue.
Table of Contents
Objective
Our goal here is to turn UNRAID Docker addresses from this:
http://192.168.1.10:8989
http://192.168.1.10:9898
http://192.168.1.10:8443
http://192.168.1.10:8080
to this:
http://sonarr.custom.tld
http://radarr.custom.tld
http://plex.custom.tld
or even this:
http://sonarr.tld
http://radarr.tld
http://plex.tld
Tools Needed
In order to this, we are going to need a few things:
- UNRAID Server
- Pihole
- NGINX Proxy Manager (NPM)
Don't be scared away by the proxy manager. Most of the guides out there are focused on setting up external access using https. While this is a great thing to have, our focus here is just to get the pretty URLs for our local network.
Lets go.
Host Access to Custom Networks
I am going to get this one out of the way first, because this little setting is what turned a 15 minute process into a few hours for me. If you receive a 502 Gateway error after setting everything up, this is likely the culprit.
There is a Docker setting that will allow/disallow the host (UNRAID) to communicate directly to services running on custom networks. If you've ever launched a Docker container with its own IP address, you probably ran it on UNRAID's default br0 custom network. The default setting for mine was set to disabled. Its a sore subject...
Turn Off Array
In order to make changes to the Docker settings, you first need to turn off the array. Go to Main > STOP (at the bottom of the page). If the array gets hung up on Array stop stuck on "Retry unmounting disk share(s), make sure you don't have anything open like an active SSH session.
Enable Host Access
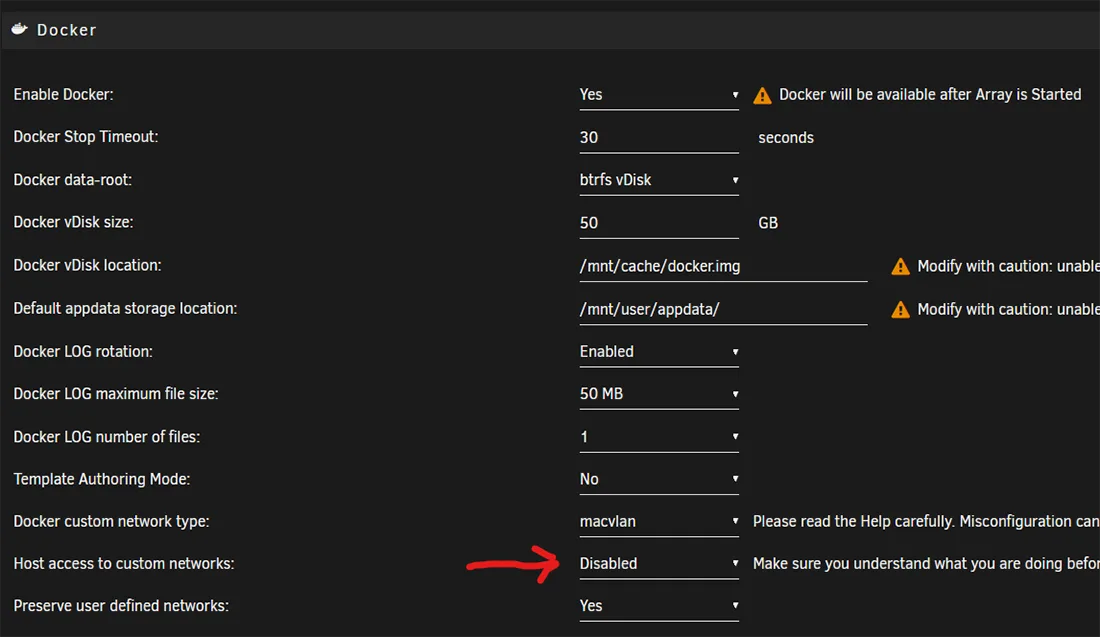
Once the array has stopped, go to Settings > System Settings > Docker. Near the bottom is a setting called Host access to custom networks. Make sure it is ENABLED. It allows UNRAID to communicate with the custom networks on the system.
Turn the array back on.
Install Nginx Proxy Manager
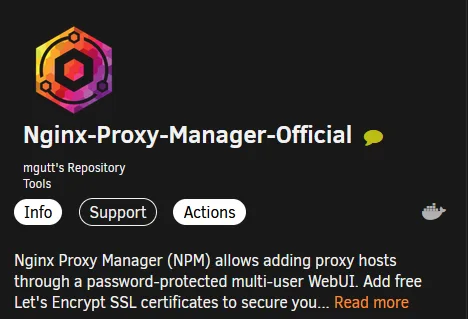
Head to Apps and install Nginx proxy manager. (It's pronounced Engine-X, btw.)
Most of the default settings are fine, and you can tweak them to your liking later. Here is what needs to be set:
- Network Type - This is where you set it to one of your custom networks. The default for UNRAID is
br0, and that will work fine. - Fixed IP Address - Assign an IP address within your local network's range. Make sure it is not already used by a different device. Assigning this as a static IP address through your router should also be done after setup.

Once these are set, go ahead and hit Apply.
Configure Nginx Proxy Manager
If you used the default settings along with a custom IP address, you should now be able to access the web UI from http://[custom-ip] without a port number. It should bring you to a log in screen:
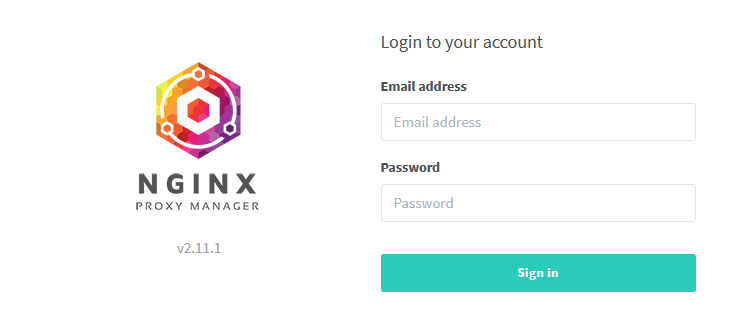
If you used the same Docker image from above, here are the default log in credentials (you will be forced to change them after logging in):
- UN:
admin@example.com - PW:
changeme
You should see this after logging in:

Create a Proxy Host
Now we are going to create the first proxy host. This is where the "vanity url" you want use is assigned, and the location of the destination Docker container is set. In my example I am using a newly-installed Docker container for Prowlarr. I have no idea what it does, but after reading the description I may need to look into it.
From the NPM Admin Panel, go to Hosts > Proxy Hosts > Add Proxy Host.
The current address for the web UI is http://192.168.1.14:9696, and I want it to be http://prowlarr.supersweeturl.home. Here is how I configure NPM:
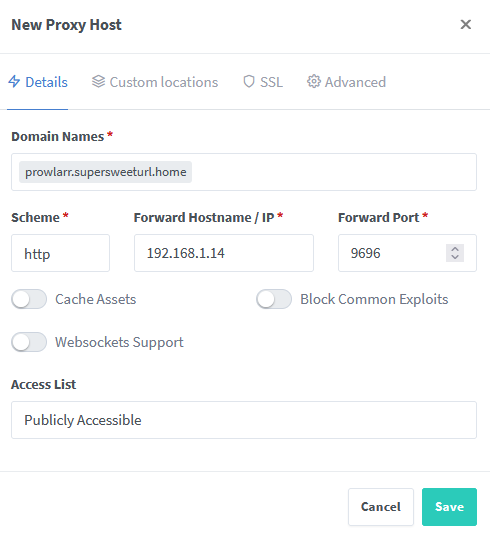
After saving, the Proxy Hosts screen in NPM should look like this:

That's it for Nginx Proxy Manager, now on to Pihole.
Configure Pihole
Note: This assumes you already have Pihole set up on your home network.
Head into your Pihole admin panel and go to Local DNS > DNS Records:
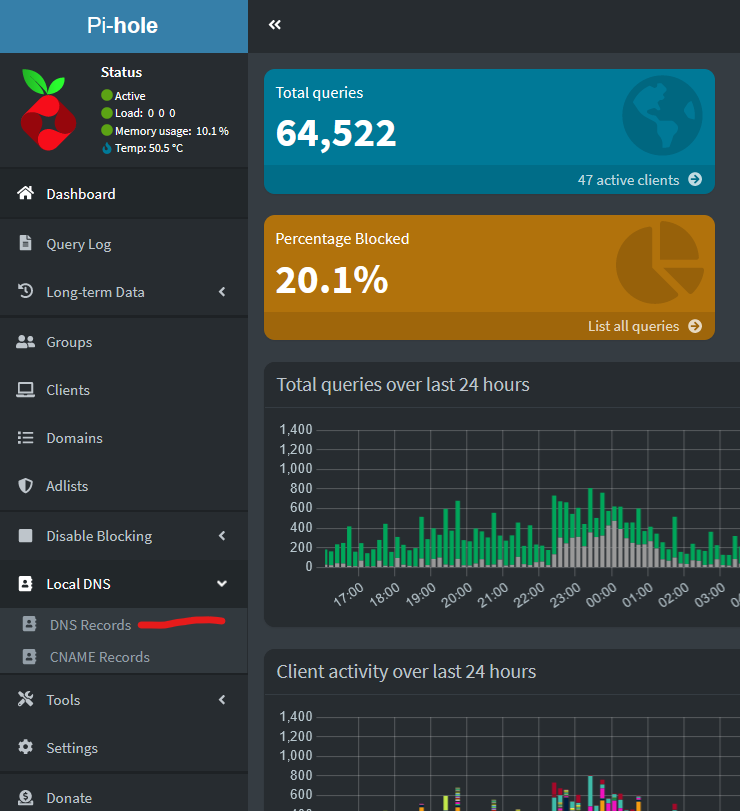
If you haven't used this before, here you can assign custom DNS records that Pihole intercepts and directs. It doesn't matter if you own the domain or not, you can put pretty much anything in here as long as it follows standard URL protocols.
Add the full URL (and subdomain if you are using that) and point it to the NPM IP Address. That last part is bolded because everything should go to your new proxy server, not the Docker container IP (which should be your UNRAID server).
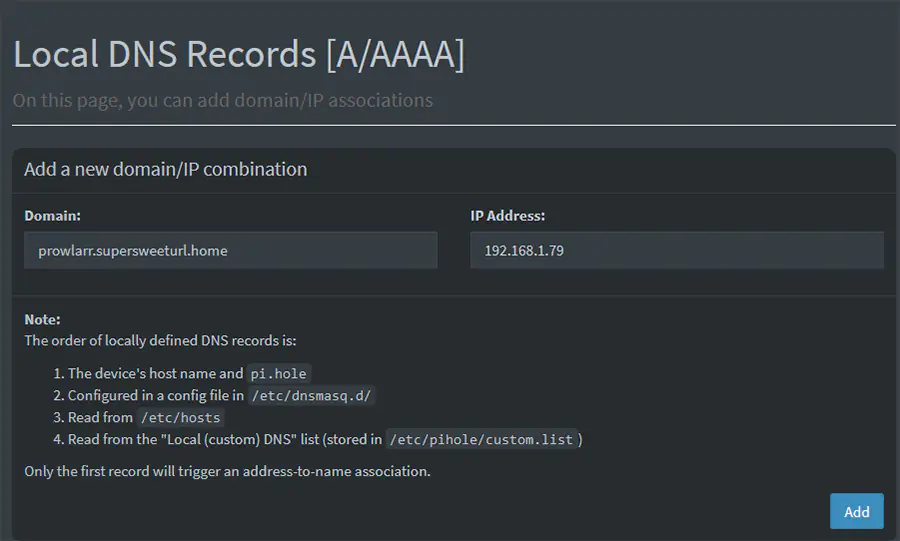
Make sure to hit Add so it saves the record.
Test the Results
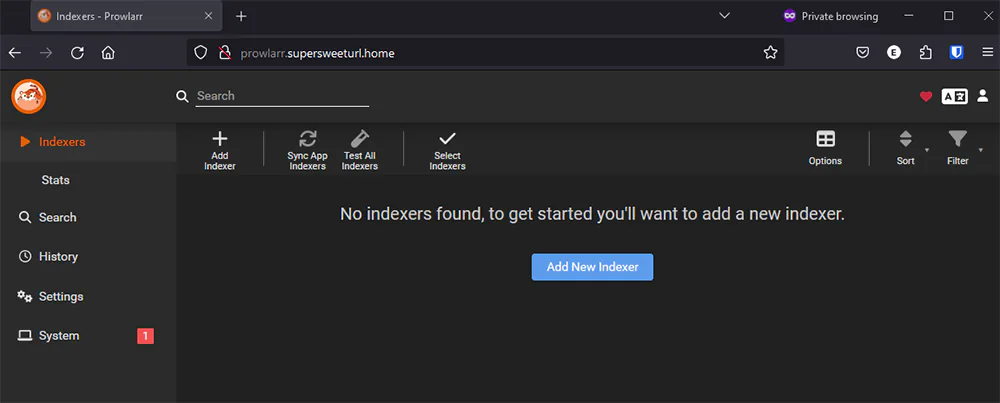
If everything went according to plan, you should now be able visit your Docker container directly through the new URL.
Important Note
If this is your first step into local domain names, there is a quirk you should be aware of:
Browsers Don't Play Nice - Some browsers do not play well with certain TLDs. You may find that your new URL brings you to a Google search result page. This is because it doesn't see it as a URL, but rather a random string you are searching for. You can fix this by adding http:// to the beginning, or using standard TLDs like .com or .ai.
That's it! If you have any questions, feel free to shoot me a message on the contact page. You can also check out some of my other UNRAID guides below.

